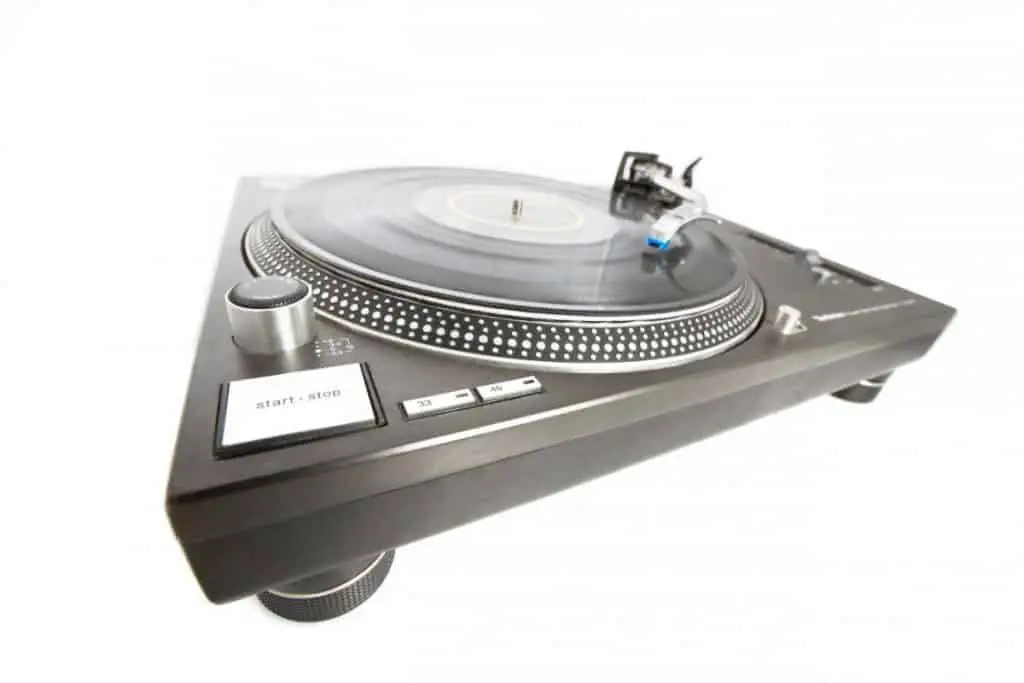
“How do you lubricate a Technics turntable” is a question that needs a thorough answer. This particular turntable is expensive, so enthusiasts take care of it the best way they can. That way, they will be able to maintain the quality of their record player.
To lubricate a Technics turntable, you need to:
- Remove the platter and clean any residual grease
- Apply about a pea size of lubricant inside the spindle hole
- Place the platter back to the turntable and let it run for 1-2 hours to distribute the grease. (source)
A record player is no doubt an expensive piece of equipment. So, apart from lubricating it, you also need to know how to take care of it properly.
How Do You Lubricate A Record Player?
A turntable is a type of equipment that requires mechanical precision for it to work correctly. If one of its parts is not working the way it should, the entire record player will mess up.
One of the problems that can mess up a record player is not enough lubrication. If the moving parts of the turntable become dry, they will not spin smoothly, which may decrease its sound quality.
So, how do you lubricate a Technics turntable and other turntable types in general?
Lubricate The Bearing
Lubricating the platter bearing is essential to maintain the right speed of your record player. Proper lubrication of the platter bearing can even affect the turntable’s overall lifetime. On the other hand, the turntable will acquire damages, which can render it useless.
Moreover, the lubrication on the turntable bearing can disappear by playing the equipment regularly. It can also get dirty as the metals rub against each other.
That said, you need to regularly check up if the turntable’s axle has enough oil. The ideal thing to do is to renew the lubrication after three years of continuous turntable use.
Apply a pea-size amount of lubricant to the platter bearing. Then, turn the record player on and allow it to spin to distribute the oil evenly.
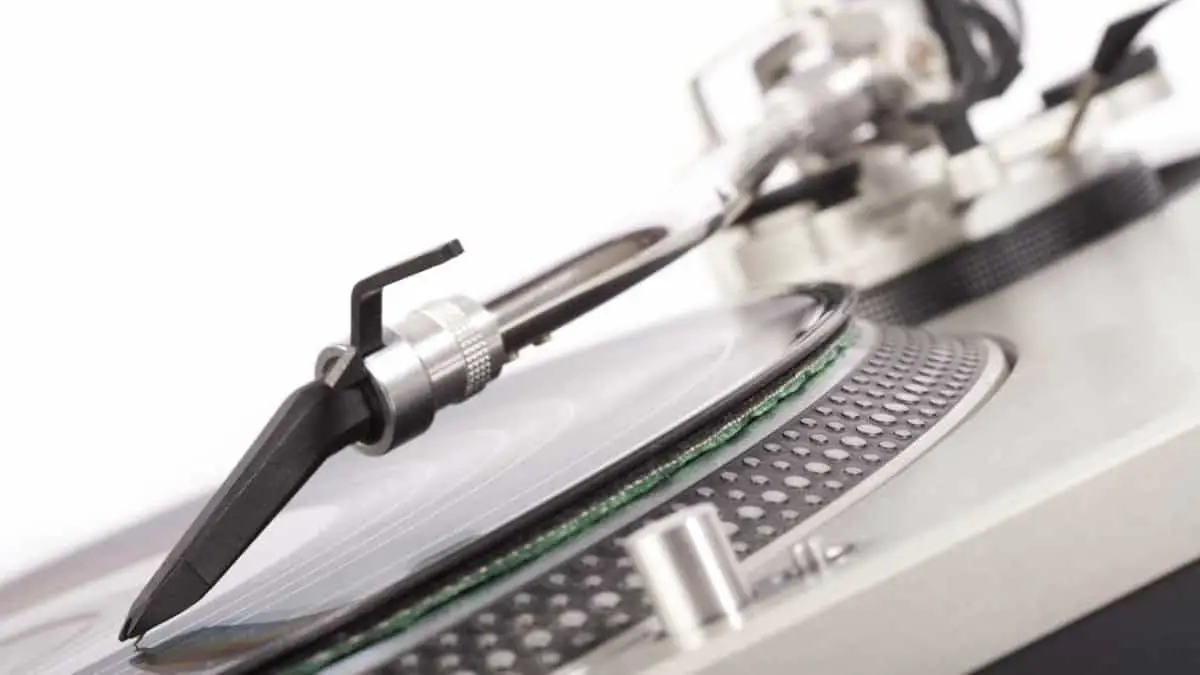
Lube Up The Cartridge
How do you lubricate a Technics turntable and any other turntables? Apart from lubricating the platter bearing, it is essential to note that the cartridge also dries out over time.
The stylus or diamond is grooving continuously with the record. For this reason, it suffers from degradation in the long run. If your record player has a high tracking force, the faster it will be for the stylus to wear out.
Additionally, the rubber of the cartridge suspension loses its lubrication over time. If that happens, the rubber hardens and becomes less sensitive. As a result, the playback quality of the record player decreases. (source)
To prevent this issue from happening, you need to lubricate the cartridge correctly. For this step, you need to:
- remove and clean the u-clamp
- inspect if there is any hard, cracked rubber or dents
- check if the outer rim has become slippery
- remove any residual grease or dirt buildup in the axle hole
- apply a dab of grease on the bottom of the idler wheel hole, making sure not to grease the rubber surfaces (source)
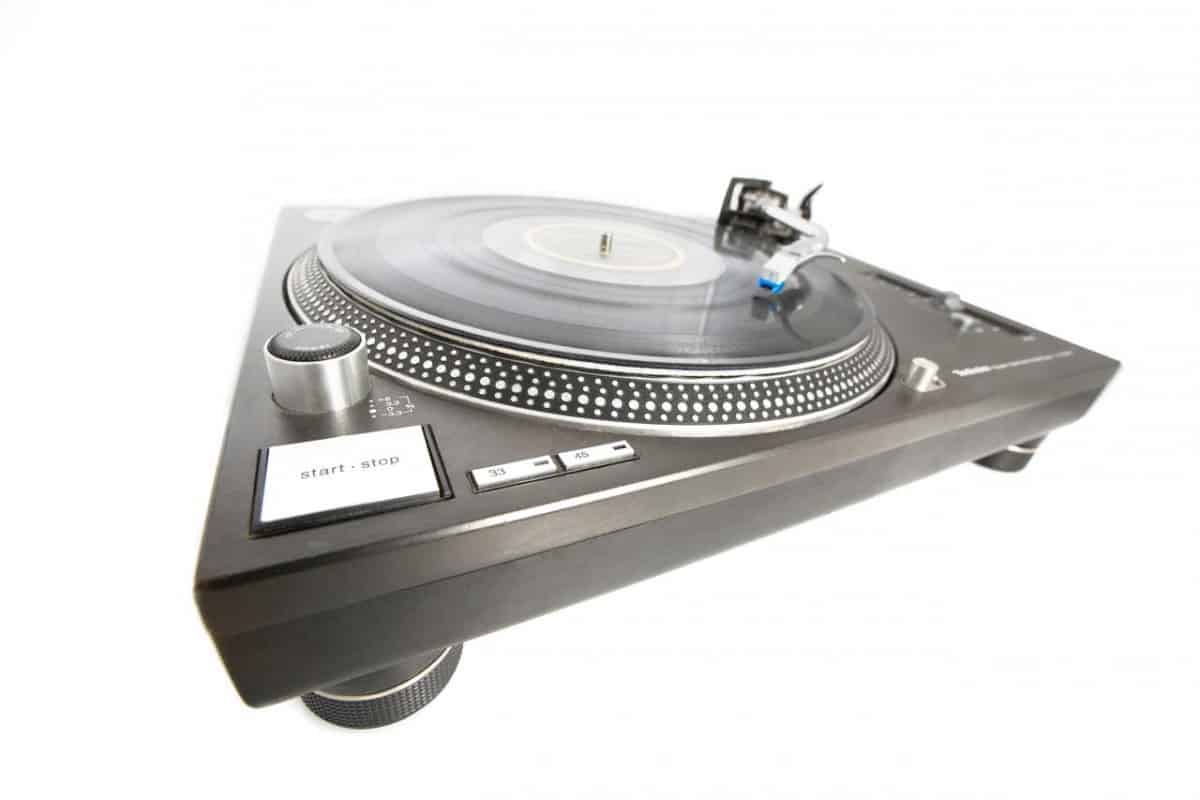
How Do You Lubricate A Technics Turntable?
Lubricating your Technics turntable is similar to how you lubricate other record players. You need to clean the parts carefully, ensuring no dust, dirt-buildup, or grease left.
However, it is essential to note that you should never use any cleaning agent that contains alcohol, thinner, or benzine. In addition, you should avoid wiping the platter bearing with a chemical dust cloth. The reason is that chemical-based and harsh cleaners can ruin the surface or your turntable, impeding its audio quality.
After cleaning the turntable and the platter bearing, the next thing you need to do is to lubricate it. So, how do you lubricate a Technics turntable?
For every 2000 operation hours of your Technics turntable, you need to apply two to three drops of lubricant. Then, just like any other record player, turn your Technics turntable on and let it spin for approximately one to two hours. This way, the oil that you applied will distribute evenly. (source)
Maintaining Your Technics Turntable
There is a considerable increase in the popularity of turntables. But since most of the record players you can find in the market were created a long time ago, they can be expensive to acquire.

But no matter how expensive your record player is, keeping it in good shape is not difficult or costly. The key to keeping your record player in its best shape regardless of continuous use is regular maintenance. Meaning you need to keep your turntable cleaned and tuned. Proper care will also help your record player to have a long cartridge life.
If you happen to have a Technics record player, it is not enough that you know how to you lubricate a Technics turntable. Instead, you also need to know how to take care of your record player to maintain its quality.
- Apply support for your record player
Whenever you walk across your room, your footsteps tend to cause a jarring effect on your record player. To prevent it from happening, you need to choose the right platform for your turntable.
It would be best if you prevented your turntable from vibrating to avoid messing up its parts. The reason is that letting your record player shake will interfere with its signal. This way, you will be able to keep the equipment from having distorted sound.
- Clean the stylus using a carbon fiber brush
Your turntable will skip and have a distorted sound if the stylus acquires dirt and dust buildup. For this reason, you must have an excellent stylus brush made of carbon fiber. You can also use mild cleaners to maintain the excellent quality of your stylus.
In addition, it is ideal for replacing the stylus after every 3000 hours of use. This way, you will be able to maintain the good audio quality of your record player.
- Replace the turntable’s belt every few years
If you have a belt-drive turntable, it is not enough that you can answer, “how do you lubricate a Technics turntable.” But you also need to be familiar with when you should replace certain parts.
For instance, you should know when it is time to replace the turntable belt.
It would be best if you replaced the belt the moment you begin to see it slipping on its pulley lower than usual. Hearing the belt slipping whenever you open your record player indicates that the belt already requires replacement.
- Calibrate the anti-shake, tracking force, and height settings correctly
Proper calibration is vital to help you avoid an increase in record wear and skipping of needles.
Moreover, it is essential to check all the parts of your record player to maintain the best quality that it can offer. But you need to know how many superior arms for the tonearms matter. It is regarded as one of the essential parts of your record player.
- Align your anti-skate counterweight
The anti-skate counterweight of your record player makes sure that your stylus is sitting perfectly in the grooves’ center while the record is spinning. Proper alignment is crucial as it can heavily affect how your stylus sits inside the grooves of your record.
It is not enough that you know how do you lubricate a Technics turntable. Instead, it is equally important that the anti-shake counterweight is aligned correctly, si the stylus does not move away from the record grooves. (source)
Related Articles
- A Step By Step Guide To Cleaning Your Technics 1210
- The Differences Between Technics 1200 and 1210
- Technics
Sources
- Maintenance Rules, Pro-ject Audio Systems, Accessed September 9, 2021.
- Henry Haven Windsor, Twelve Record Changers, Popular Mechanics, Accessed September 9, 2021.
- Manuals Brands Technics Manuals Turntable SL-3200 Operating Instructions Manual: Adjustment Of Arm-Lift Height; Adjustment For Automatic Return Position – Technics SL-3200 Operating Instructions Manual, Manuals Lib, Accessed September 9, 2021.
- How To: Tips On How To Take Care Of Your Turntable, Techaeris.Com,/ Accessed September 9, 2021.
-
How To Lubricate A Technics Turntable
“How do you lubricate a Technics turntable” is a question that needs a thorough answer. This particular turntable is expensive, so enthusiasts take care of it the best way they can. That way, they will be able to maintain the quality of their record player. To lubricate a Technics turntable, you need to: Remove the
-
A Step By Step Guide To Cleaning Your Technics 1210

Technics make a fantastic bunch of turntables. But maintaining your turntable is essential to keeping it in good condition. The 1210 model is no different in its requirements for maintenance. However, knowing the correct way to perform a cleaning service is vital to proper turntable maintenance. The process for cleaning a Technics 1210 is no
-
The Differences Between Technics 1200 and 1210
Technics 1200’s are known as some of the best direct-drive turntables in the industry. The record player has dominated the industry for decades, leading as a benchmark to follow for competition. But what is the difference between the SL-1200 and the slightly more expensive SL-1210 models? Let’s find out. The Technics SL-1200 and the SL-1210