
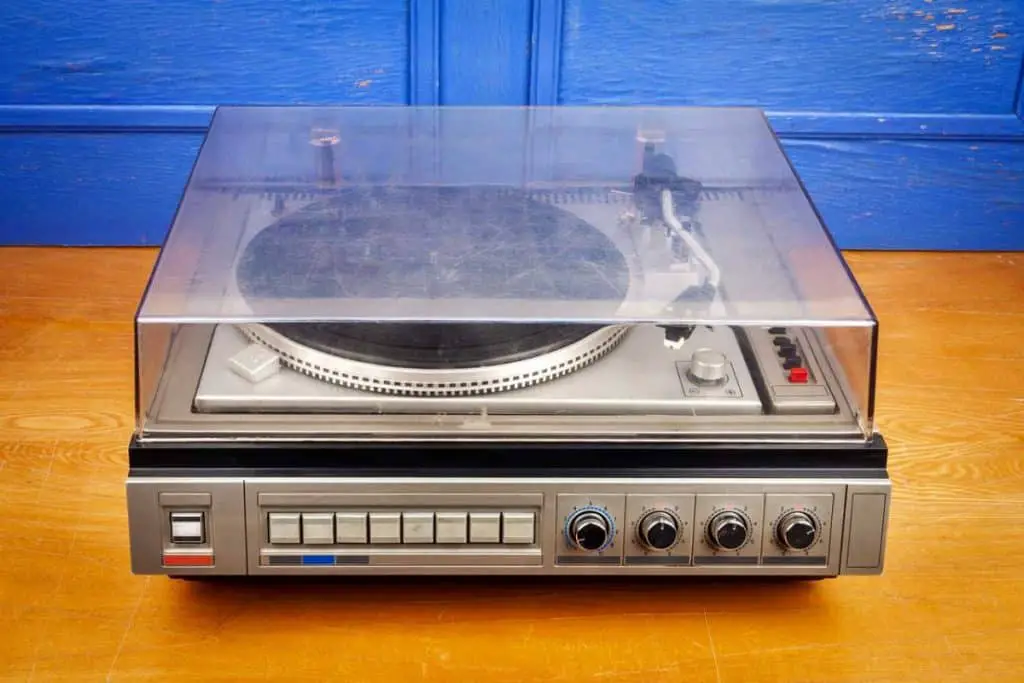
The purpose of a record player’s dust cover is to protect your turntable from dust and debris. Keeping it clean, shiny, and ever-ready for use (2).
The steps in cleaning your turntable’s dust cover are:
- Take off the dust cover.
- Create a cleaning mixture.
- Submerge microfibre cloth.
- Wipe the surface.
- Clean off the mixture.
- Leave the dust cover to dry.
- Polish surface.
This article will look at the steps involved in cleaning a dust cover, the best restoration products for dust covers, and how to lighten scratches on dust covers.
How To Clean A Record Player’s Dust Cover – Part 1: Dust Cover Cleaning Steps
Your turntable dust cover protects your record player; however, it also gets covered in dust or debris (3). It can get worn out, scratched, and need restoration because a dirty dust cover can ruin your record player and vinyl record.
Items Needed:
- Dishwashing liquid.
- Clean microfibre cloths.
- Plastic polish.
- Warm water.
Step 1: Remove the dust cover.
When you want to restore your dust cover, the first thing to do is take off the dust cover from the turntable. This step is not compulsory, and based on my experience with turntables, it is better to clean the dust cover while attached to your record player. However, if you find it difficult, taking off the dust cover is your first step, but it should be done with extreme care to avoid damaging the hinges.
Step 2: Create Cleaning Mixture.
The next thing to do is create your cleaning mixture. Using two cups of warm water and ¼ tablespoon of dishwashing liquid, mix the contents until it forms enough lather. The measurements above are not strict about following measures, so you can use any bar you desire. In my experience, this measurement has been the most effective on any brand of the dust cover.
Step 3: Submerge Microfibre Cloth.
After creating your soap mixture, your microfibre cloth comes into the scene. Place your soap mixture on a flat surface to avoid spilling, then submerge your microfibre cloth in it. Do this until it is damp; it should not be soaking wet to avoid dripping the mixture into your turntable or vinyl grooves. It should also be moist enough to clean your dust cover.
Step 4: Wipe Surface.
Using your damp microfiber cloth, wipe the entire top and bottom surface of your dust cover. Ensure to submerge the microfibre in the soapy mixture if it gets dry, do this to remove dirt, debris, or dust from the outside without leaving scratches on the plastic. Put the fragile nature of your dust cover into consideration when wiping, so you don’t apply too much pressure that can lead to permanent damage.
Step 5: Clean Off Mixture.
When you are sure that you have entirely wiped every surface of your dust cover with the soapy mixture, the next thing is to clean off any additional residue or dust stuck onto the plastic. Using another clean microfiber cloth, submerge it in plain water without soap until it is damp, and wipe off the dust cover’s entire top and bottom surface to remove the soap mixture. Do it several times carefully until you completely wipe off the soap residue from the surface of the dust covers and any part of your turntable the soap might have touched.
Step 6: Dry Dust Cover.
After the fifth step, leave your dust cover to dry completely. It is important to note that the surface must be dry before carrying out the next final step. Carrying out this step on a wet dust cover will create unpleasant results and sticky grime on your dust cover.
Step 7: Polish The Cover
The next and final step is the polishing part of the whole process. After your dust cover gets dried, apply your plastic polish on the entire surface of your dust cover in overlapping circles, using another clean microfiber cloth. This time, you will wet your microfiber cloth with the plastic polish and not submerge it. The work of your plastic polish is to make it shiny and attractive like it was when you purchased it.
Part 2: How to Lighten Scratches on Dust Covers
If you have a plastic or acrylic turntable dust cover, scratches are inevitable. They make your dust cover look old, unattractive and can store dirt in their grooves. In cases where you have blemishes on your dust covers, the following steps can help remove scratches while also polishing your dust covers:
Tools Needed:
- Clean and dry cloth.
- Toothpaste.
- Car wax.
- Polish.
- Warm water.
Step 1: Wet Your Dry Cloth.
The first step to carry out is wetting the dry clean cloth with your warm water. This process removes any dirt or specs of dust on the fabric that you might have missed. Ensure to wet it enough to be damp or moist and not too wet to the point of dripping.
Step 2: Apply Toothpaste to the Cloth.
After getting the cloth damp enough, apply the toothpaste to the moist cloth. Any brand of toothpaste works, but from my experience, using toothpaste that is not gel works better and faster.
Step 3: Rub Cloth on Your Dust Cover.
The next step is rubbing the cloth on your dust cover’s top and bottom surface. Ensure to rub it multiple times on the body, covering all edges and parts of it. Rub it gently, too, so you don’t break it or cause more damage.
Step 4: Rinse Off Residue.
After getting satisfied with the previous step, rinse off the residue of the mixture from the dust cover. Ensure to use clean, warm water to rinse off the substance and leave it to dry correctly.
Step 5: Apply Car Wax and Polish.
Finally, apply your car wax and polish to the dust cover, rubbing them on all corners and edges of the body. When you are satisfied with this part, you leave it to dry out a bit, and your dust cover will be as good as new.
Part 3: Best Dust Cover Restoration Products
There are many products used to restore dust covers, both acrylic and plastic (3). Below are some of our best picks:
Novus 7100 Plastic Polish Kit – 8 Ounces is a plastic polishing kit used to polish dust covers made from plastic. It helps protect, clean and polish your plastics, making them free from dirt, dust, and scratches. When you use it frequently, it serves as protection against future scratches. Click here for more price information.

Chemical Guys BUF612 TORQX Random Orbital Polisher is a polishing kit that removes scratches, swirls, and defects from your dust covers. It works fast, comes with pads that can be switched quickly, and can handle any level of scratches on your body. They also come with the appropriate cloth for carrying out your cleaning steps and can be used for plastic and acrylic covers. Click here for price information.

Gloss Poly Wax is a car wax used to remove scratches from dust covers. They protect your surfaces from damage and have synthetic polymers. You will get a removal towel and hand wax pad on purchase to help make waxing easier. Click here for price information.

Frequently Asked Questions (FAQ)
How Do I Avoid Getting Fibers on My Turntable?
The best way to achieve this is to ensure that each time you take off your cloth dust covers, brush your turntable with a carbon fiber brush.
In cases where the fibers from your dust covers are becoming too much, it is probably time for you to change it. However, you can always dust them properly away from the record play before covering them after each use.
Can I Use a Cloth and Plastic Dust Cover at Once?
One turntable dust cover is enough, but you can use both plastic and cloth dust covers if you want extra protection for your turntables.
You can use both dust covers to protect your turntable at once, but they are not necessary at all. It is a personal preference, but they are not compulsory and do not hold any technical significance.
Summary
Cleaning your dust cover is very important and should be done frequently depending on how much you use your turntable. Do this to keep your record players safe and free from damaging external factors. For further questions and information, drop a comment below.
Related Articles
Sources
- Technica, Audio. “Audio Solutions Question of the Week: How do I Clean My Audio-Technica Turntable’s Dust Cover Without Scratching It?” Audio-Technica, 2018, https://www.audio-technica.com/en-us/ Accessed 12 July 2021.
- Zinski, Jaimie. “How to Polish a Dust Cover on a Turntable.” HomeSteady, 2017, https://homesteady.com/how-12020337-polish-dustcover-turntable.html Accessed 12 July 2021.
- Siu, Jason. “Top 10 Best Plastic and Trim Restorers.” AutoGuide, May 2021, https://www.autoguide.com/ Accessed 12 July 2021.