
Whether you are new to vinyl or you have been spinning the old turntable for years, you’ve probably grown to love the vintage sound that comes with a good record player. However, there are many reasons why it might be more convenient to convert your vinyl to digital.
To convert a vinyl record to a digital audio file, you’ll need a turntable, a phono preamp (if not built into your turntable), and an audio recording program. Once you have the required hardware and software, you’ll need to hook up to your computer and play through your records or singles. After recording, you can go through and break up your audio into tracks.
Below, we’ll go into detail about each step to converting your vinyl records to digital. We’ll also talk about various products you may need to go through this process.
1. Purchase the Right Hardware

If you’re into vinyl, you probably already own a turntable. That’s the first step in digitizing your vinyl. But not all turntables were created equal; some are built better for needle dropping. There are three components you will need to start with your recording process.
- A turntable
- A phono preamp
- Connection to your computer.
Many modern turntables come with a built in preamp and USB output. These are ideal for converting vinyl and make the process much easier. A widely recommended turntable for this is the AT-LP60XUSB. The price sits at around $250. It makes the digitizing process easier because everything you need is built in already.
Another option that is recommended is the Sony PSH500. The price point for this one sits closer to $400, but it produces a more professional quality digital copy of your records. With the higher quality though, it’s made for professionals, so it’s a bit less user friendly than its previously mentioned competitor.
If you aren’t looking to spend on a new turntable and you already have a functional one, you can make nearly any turntable work.
First, you’ll have to check your turntable for a built-in phono preamp. Check your output signals. You should have either LINE or PHONO. If you have the PHONO output, there is a built-in phono preamp. The preamp will convert your sound so it can be hooked up to a typical stereo system. You can then record your vinyl on the stereo system, which can later be converted to a digital file.
If you don’t have a LINE output, you can buy a separate phono preamp to attach to your turntable. These can range from $15 to $150+ based on quality. LINE output is typically weaker than PHONO output, so it is best to get a phono preamp.
Another route to get even better sound quality is to get an external ADC (Analog Digital Converter). These record a better sound than the USB turntables and they do a better job at capturing the classic sound than your computer recording software will do.
If you have a computer with a 3.5mm audio jack (AUX), you can also use a “Y” cable that has the AUX jack on one side and the two RCA on the other side and hook straight up to your computer.
2. Download Audio Recording Software
When it comes to audio recording software, your dedication to the hobby determines what route you need to go here. There are more professional apps that are user friendly, but they can get pricey. Those who are quite serious about converting their records to digital might want to consider a program like Pure Vinyl or Vinyl Studio. They are designed for needle dropping and are user friendly. Pure Vinyl costs $129. Vinyl Studio offers a standard package for $29.99 and a pro version for $49.99.
At $99.95, Studio One is another great option. If you are into music in general and you’re looking for a recording and mixing application, Studio One is a good option. It is a little more on the expensive side, but it’s a very high-quality recording software.
If you just want to save a few of your vinyl on digital and you are looking to save, Audacity might be the way to go. While it isn’t optimized for converting records, it works well and doesn’t cost anything to try out.
3. Clean Your Records
A record player runs a needle across grooves in vinyl, so if your records have been sitting out in a dusty area, perhaps on display or if they’ve been handled a lot, you will want to clean them off really well before recording to be sure the sound is as clear and true to the original as it can be. Making sure your records are free from other debris and dust will prevent skipping as well and give you better audio.
Cleaning your records well will take time. There is a variety of supplies you can get to clean your records and we’ll go over them below:

- Warm water and gentle Soap: This is best to just get general grime off. You don’t want to use a sponge or anything with a rougher side because that could damage or scratch the vinyl. Mircrofiber will work best.
- Microfiber Cloth: If your vinyl has been collecting dust on the shelves, it is best to use a microfiber cloth to remove it.
- Record Brush: A record brush is made to clean records without damaging them. This is best for dust, grime, or dirt to gentle brush off, no scrubbing. These brushes, are also great at eliminating static on your vinyl.
- Cleaning Kits: On Amazon and various Vinyl websites, you can order vinyl cleaning kits that uusally have the brush, cloth, a cleaner, and a stylus brush.
- Record Cleaning solution: You can make a good cleaning solution at home if you don’t want to buy one. You just need some rubbing alcohol, distilled water, and some soap. Mix 1/4 cup of rubbing alcohol with 3/4 cup of distilled water and two drops of soap.
When it comes to cleaning your records, do it slowly and carefully, you don’t want to break or scratch the records. When using a cloth or brush, use gentle and slow strokes. It is also good to wipe in circular motions. After you are done cleaning it, let it dry completely before storing it. When storing your record, make sure it is put away correctly in its sleeve and safely on a shelf or in a storage bin.
4. Connect the Devices
Your connection may look quite simple or be more involved based on your equipment. As we talked about earlier, depending on what kind of turntable you have will determine what you need to link it up.
If you have the preamp on your turntable, you can easily connect it to a stereo system and record the vinyl onto a CD. You’ll have to insert a blank CD and hook your turntable up to the stereo system with a phono cord. Then you are able to start recording. Once you have finished, you should be able to pop your CD into your computer and create a folder for all the music on your computer.
Another way to connect is with a “Y” cable. On one end is an AUX cord that connects to your turntable and the other end has two RCA cables that connect to your computer. This will convert the files directly from the turntable to the computer. You can get these for about $8.
If you want to connect with an ADC, you’ll need to connect your turntable to the ADC and then connect the ADC to your computer. The ADC will convert the sound your turntable is producing into files to put onto your computer.
The easiest setup will be the USB turntables. This turntable you buy has a USB port on the side. So that while your record your vinyl, they will immediately be converted into files on the USB drive plugged into your turntable. Once you have finished recording, you can easily plug in your USB drive into your computer and upload the files.
5. Prepare Your Software
Once you have selected your software and downloaded it, it is a good idea to test out your program before you begin the lengthy recording process. Get familiar with its functions and learn its interface.
This will look differently on each program, but you’ll need to add metadata for each album. If your program is specifically designed for needle dropping, it will have inputs for the album title and other information about your music. If you are using a more generic recording program, you’ll still have places for names, but it won’t be as optimal for naming albums and tracks.
Make sure everything is set up correctly by testing a few minutes of recording. You may have to choose inputs on your program for where the audio is coming from. If your program can’t find any sources, you may want to check that everything is plugged in correctly and switched on.
6. Record Your Albums
Before you begin your recording session, do a little test run. Record one song or a little bit of a song on the software and then check how it sounds. If it doesn’t great, adjust some cords, clean the record, and make sure everything is plugged in correctly. Then try again. Once it sounds as good as it’s going to get, you are free to record the whole thing.
Your conversion to digital will take time. If your album runs for 42 minutes, it will need to record for 42 minutes. The best thing to do is let your album run and check on it every once and a while to make sure it is still running. Don’t leave it alone for too long, otherwise, you might come back to find it stopped recording a long time ago.
If it happens to stop recording or malfunctions while it is recording, make sure to stop the recording process completely. Delete the track that had been recording. Reset everything and double-check that everything is plugged in correctly. Then start the whole recording process over again. This will make sure you record everything with the best quality without having to figure out where it stopped and where to start again.
7. Split the Tracks
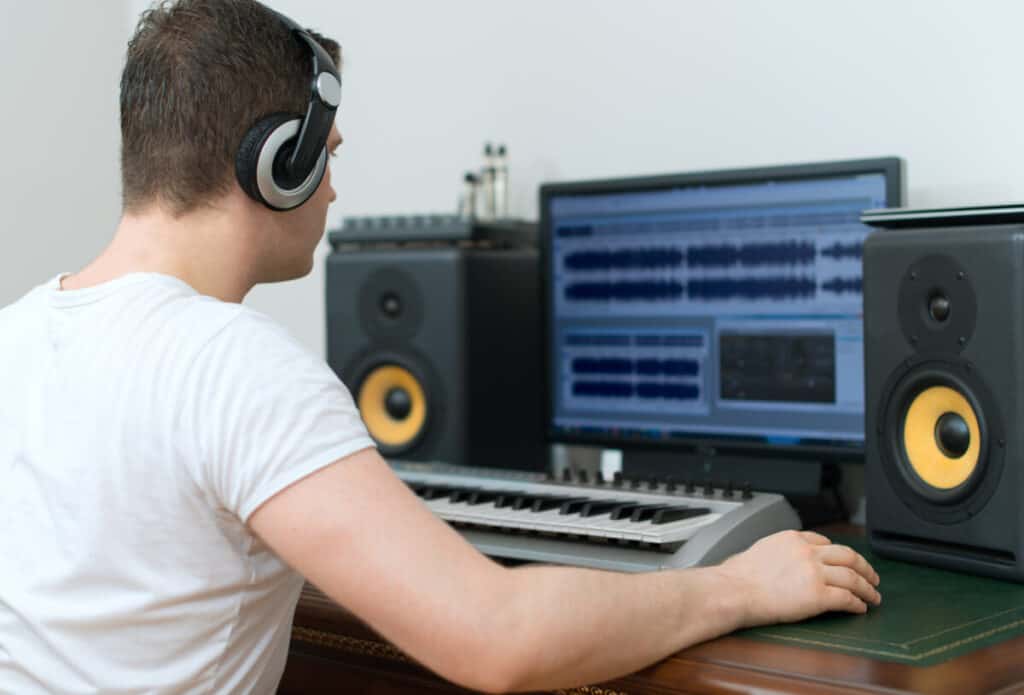
After you have finished recording an album, you’ll be able to see a visual waveform of the music on your recording software. You’ll want to look for moments the waves fall flat, that will be the moment in between songs. However, you should double-check where the song ends by listening to each of the tracks and then marking the point where one song ends and the other begins. Then you can split your songs there. This will make it easy to download each individual song, instead of having to listen to the whole album every time you want to listen to one song from it.
8. Export Your Music
After recording all the vinyl and splitting them into specific tracks, you can then export your music into a downloadable file format. To do this, you’ll have to download the file as an mp3, a .wav file, or others depending on the software you used to record your tracks. It is best to keep all the music in folders named after the albums. Make sure to save a copy of your tracks on your music software in case you lose them on your computer. Then you’ll always be able to download your vinyl music if you need to. You can also go above and beyond and save a copy of your music files on a USB so if your computer loses everything, you’ll still have a copy.
9. Enjoy Your Digitized Vinyl

Now for the best part! Download your files onto your device of choice and listen to your wonderful vinyl all the time wherever you go. There are many methods for digitizing vinyl and make sure to choose the one that works best for you and the sound you want.