Are you looking for the best ways to fix your record player arm? Then you’re in the right place. We’ll show you how to fix your faulty record player arm in seven easy steps.
It is essential to read through the manufacturer’s manual to fix or change a record player’s tonearm. Ensure that all steps are followed correctly while setting up the tonearm, as an incorrect setup causes the most common tonearm faults.
The tiniest issue from an incorrect setup of a turntable’s tonearm either single-handedly or combined with other factors can ruin the quality of sound it produces. Mechanical problems can also cause poor sound quality. That’s why you have to get your record player’s tonearm fixed right.
The tonearm is as much an essential part of the record player as the record itself. It has been so easy to overlook the tonearm and its role when talking about the parts of a turntable; however, all changes now.
The Record Player’s Tonearm
Initially, the tonearm was intended to conduct soundwaves from the soundbox to an amplifying horn, as was introduced with the earliest design of the electronic record in 1925. (Source)
Over the years, several changes have been made to the tonearm ranging from the type of materials used to the design and its primary function. (Source)
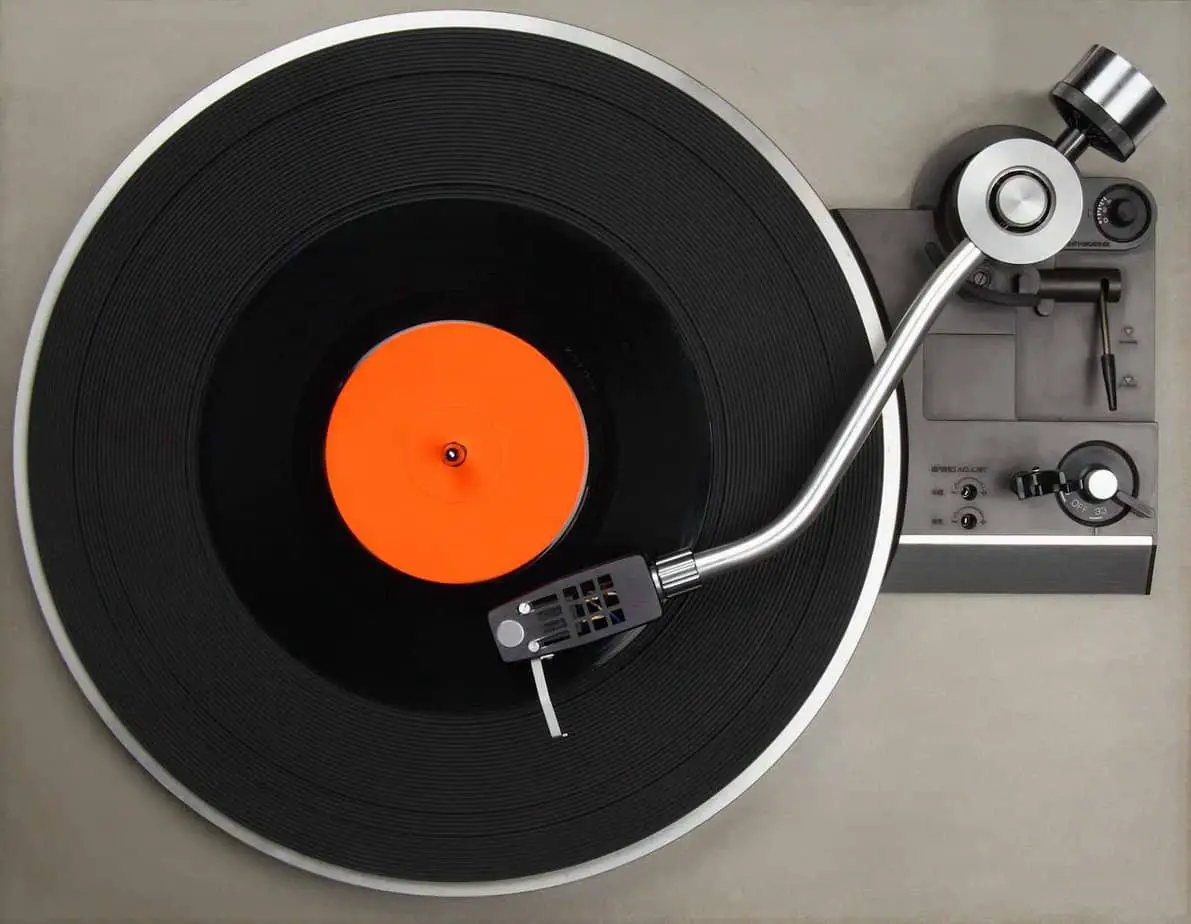
A record player’s arm is designed to support the cartridge in the proper position over the record, permitting it to move inwards towards the center of the record without changing its position. To be able to do this effectively, it also has to perform a few other tasks simultaneously.
Firstly, the cartridge has to be in the correct position. It means its height and angle above the record must permit it to trace the groove towards the center.
Then it proceeds to apply the exact amount of weight to the stylus, ensuring that the anti-skating force is in place to prevent the cartridge from darting towards the inside of the record before finally moving the signal transmitting cabling from the cartridge to the turntable.
The significant issues identified when dealing with a record player’s arm can be categorized into two groups:
- Visual issues – These are defects identifiable by sight, such as a bouncing tonearm or one which won’t lower properly.
- Mechanical issues – The issues that you can’t see but can hear audibly; an example of such is a skipping record.
Let’s get into common visual and mechanical issues that can affect a record player’s tonearm and how to troubleshoot them.
Table Showing Different Tone Arm Issues And How To Fix Them
|
Visual Issues |
How To Fix The Issues |
|---|---|
|
Single side swinging of the tonearm |
Check to confirm the platter of the record player is level as most tonearms are super sensitive. |
|
The tonearm won’t stop returning. |
With your arms, manually rotate the record player’s platter till you hear a click. |
|
The tonearm does not lower all the way. |
It is caused when the tonearms bridge does not lower enough when the cueing lever is in use. Tweak the adjustment screw to regulate the bridge’s height. |
|
The tonearm drops too fast. |
Adjust the tonearm’s bridge screw or Lubricate the cueing lever with some damping oil |
|
A bouncing tonearm |
Avoid manually lifting and lowering the tonearm Lubricate the cueing lever with some damping oil |
|
Mechanical Issues |
How To Fix Them |
|---|---|
|
Sounds produced from a single channel during record play |
Contact a Professional Be sure that the cartridge is accurately connected to the tonearm |
|
A skipping record |
Check that the VTF is correct Check that the anti-skate is correct |
|
Noise or humming sounds during record play |
Confirm the balance of the tonearm/ VTF Clean the contact connecting the headshell to the tonearm with a cotton wool swab with a dab of alcohol |
|
Interference when you move the tonearm |
Contact a Professional |
|
No sound during playback |
Adjust the tonearm’s bridge to regulate it Read through the manual to confirm that the Vertical Tracking Force (VTF) is correct. |
How To Fix A Record’s Player’s Arm
There are several methods to fixing a record player’s arm. However, these methods are dependent on which issue you’re experiencing.
With your tonearm and your knowledge and expertise with the tonearm, if you aren’t sure what to do to fix it, it is advisable to seek professional help if you are unfamiliar or new with a record player and its components.
Mounting And Adjusting The Tonearm
A most common mistake amongst new record owners is incorrectly adjusting or incorrectly mounting the tonearm of their turntable. Several individuals use turntables with tubular tonearms and adjustable screws to change and replace the tonearm if and as needed.
However, if you own a plug-and-play record player, likely, you do not need to install or perhaps even adjust the tonearm. But it is always good to have some knowledge. A particular model from a specific brand can have its settings.
However, this means you always have to keep these settings in mind and adjust them accordingly when replacing the cartridge. You can also write them on a sticky note and keep them in your record player corner.
Aligning The Record Player Tonearm
In order to produce the sound of the best quality, the stylus has to align perfectly with the record. The best alignment is when the stylus rests vertically in the groove at precisely 20 degrees to the front. It is because the sound is generated when the stylus touches the sides of the groove.
Most record players come with their adjusting ring or locking lever to align the stylus. With this, you can properly align the tonearm and stylus to the record with great precision.
To adjust the tonearm, firstly release the lever, then place the needle on the record, ensuring the drive is turned off during this period.
Now you can turn the adjusting ring carefully without touching the tonearm until it runs parallel to the record.
Now lift the needle off the record and secure this setting with the locking lever. This process is always the same. If you can’t find certain parts, it is best to read the manual, for it could be the case that your turntable lacks this feature.
Balancing The Tonearm
Your turntable can start to experience a skipping stylus problem for several reasons. It is the process to help you align the tonearm.
The Vertical Tracking Force (VTF) is the weight at which the needle contacts the record and might be why you are experiencing a skipping record. Your turntable must run with the correct VTF, as too high a VTF can damage the record, and too low will damage the stylus. (Source)
The proper VTF weight varies across models and brands as the cartridge’s manufacturer determines the proper vertical tracking force. There are several determinants of a VTF, including variations in the tonearm.
To adjust the VTF, follow the following steps:
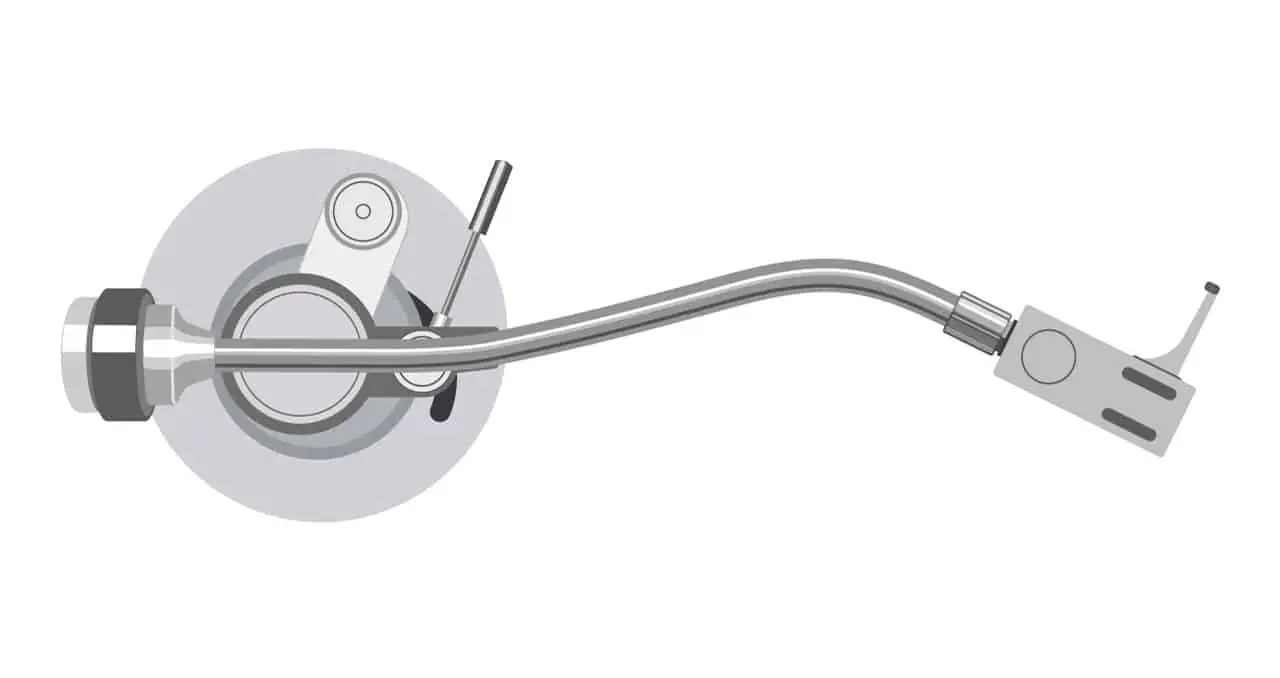
- Proceed to the component of the tonearm known as the counterweight. It is usually found at the tail end of the tonearm
- By turning the counterweight to a specific number, you can adjust the tonearm’s weight
- If your turntable includes an anti-skating setting, turn this to zero. If not, reset the tonearm, so it is balanced mid-air.
- Check the cartridge’s manual for the correct VTF or check online.
- Set the counterweight to the specific number setting for your cartridge. For turntables with anti-skate settings, adjust this to match that of the cartridge.
- Once this is done, this should move the cartridge downward towards the record and sit at the correct weight.
Once the vertical tracking force has been set to the correct weight, your record should not experience further skipping issues.
Getting a digital gram is an easier way to determine the weight of the VTF easily. They are easy to use and can measure the needle pressure accurately.
Fixing A Tonearm’s Interference
If you’re experiencing difficulties moving the tonearm or hearing some interference feedback that you do not notice during playback, then the problem might be the tonearm’s cabling.
The wires within the cable might be rubbing against each other or the casing walls. It can induce current or cause static.
To fix the wiring of the tonearm is not as easy as changing other components. That’s why we generally recommend you contact a professional to prevent irreversible damage to your record player.
Fixing A Bouncing Tonearm
Most turntable owners manually lift and lower the tonearm rather than use the cueing lever to control the lifting and dropping when your turntable is in use. The bouncing might also be caused by the fast movements of the cueing lever or by loose screws.
There are two ways to fix this. The first method is by tightening the bridge screw. The bridge screw is found at the base of the tonearm.
Adjusting this screw controls the height and brings the stylus within proper contact of the record.
The second method is to apply some damping oil to the cueing lever. Since the lever controls the up and down movement of the tonearm, the damping fluid would naturally dry up over time and might lead to stiffness.
Maximum output by the cueing lever would require a certain level of fluidity. That’s where the damping oil comes in.
There are cueing levers damping oils sold in syringes for easy and minimal application. The thin mouth of the syringe allows it to access narrow and tight spots.
If, after trying these methods, your tonearm is still experiencing the same issues, it is best to contact a professional.
Cartridge Replacement
Your turntables cartridge is an essential component in ensuring that the record player works well and produces quality sound. Changing a record player’s cartridge is easy to do with the right tools and some patience.
Follow the following steps to change your cartridge when the need arises:
- Open the turntable’s dust cover to identify the headshell.
- Gently detach the stylus from the cartridge. Pay attention not to damage the plastic.
- Once this is done, gently release the headshell from the tonearm.
- Remove the screws with a screwdriver to release the cartridge.
- Gently unplug the wires from the pins with a long nose plier. An easy way to do this is by pulling them from the metal detector at the end of the cartridge.
- Replace the cartridge and the pins making sure to connect the wire to the pins following the provided color codes.
- Tighten back the cartridge screw the same way you took them off.
- Connect the new stylus to the cartridge before joining the headshell. Pay attention to adjusting the alignment of the cartridge.
- Join the assembled headshell to the tonearm.
- Your tonearm is ready to be tested and used.
If you follow these steps accurately and with caution, your turntable should produce quality sound, given that the cartridge was faulty. (Source)
Needle Replacement
The function of the needle is to read and turn the vibrations on a record player into sounds. The movement of the needle on the groove creates an electric signal that the amplifier produces to us as good sound.
Constant use over time can result in chips or bending. Once this happens, it automatically affects the quality of sound it produces. That’s the point where you start to hear crackles and distorted sounds.
Also called a stylus, a tired needle would contribute nothing but ruin your record. It is essential to know when to change your turntable’s needle and learn how to change one when the need arises. (Source)
When Should You Replace Your Needle?
Few signs indicate when your turntable’s needle is due for a change. Such signs include:
- When the quality of sound changes or drops. Soon as you notice sound warps or dull vocals, your needle is due for a change.
- After purchasing a pre-owned turntable, most turntable needles have an average usage rate of 500 hours, after which it is due for a change. It is advisable to change the needle when you are unsure about its state or usage period to avoid possible damage to your record.
To replace the needle, identify the correct type of needle your turntables use. A helpful tip would be checking the serial number on the cartridge to determine the exact kind of needle you need.
Once you have purchased a similar needle replacement for the turntable, consult the accompanying manual or check online if you don’t have access to the manual for the appropriate guidelines and steps to follow when changing the needle.
Make sure you have a plate or bowl handy to hold the disassembled part to ensure that you do not lose any while replacing the needle.
How To Fix A New Tonearm’s Rest
The tonearm rest is a clip-like instrument that is used to hold the tonearm firmly in place. The tonearm’s rest is typically constructed out of strong plastic, and replacing this rest is as easy as it comes. Follow the following steps when replacing your tonearm’s rest:
- Remove the plastic dust cover on the tonearm
- Then you remove the counterweight on the tonearm
- Proceed to remove the headshell and the cartridge
- Once complete, gently move the tonearm to the center of the turntable’s platter
- With a screwdriver, unscrew the nut under the tonearm’s mounting bridge
- Remove the old tonearm’s rest and replace it with the new one
- Tighten the screw and assemble other disassembled parts
Those are the simple and easy steps to changing your turntables tonearm’s rest.
How To Clean The Tonearm
The tonearm and its components have spaces and holes that can collect dust and debris. Due to the sensitivity of a turntable and record surface, these specks of dirt can cause poor sound quality and negatively impact the listening experience.
To clean your tonearm, you need a stylus brush, anti-static dust cloth, compressed air, and rubbing alcohol.
- Clean the needle with the stylus brush from the front to the back. You can also dab the brush with some alcohol and brush gently.
- Wipe down the tonearm with a cloth dabbed with alcohol. You can use the can of compressed air to blow dirt out of small and inaccessible spaces.
- Wipe down the tonearm with a clean and dry cloth
Always pay careful attention and try not to touch surfaces of the record player or the stylus with your bare finger. Make sure your hands are clean before you start cleaning your turntable.
Conclusion
A record player cannot function with even the slightest defect to any of its components. Appearances can be deceiving, and even though the tonearm looks like a simple rotating tube on the record player, it is one of its most essential components.
We have shared the different processes to identify and troubleshoot possible issues the tonearm could develop.
Remember always to follow the instructions outlined in the product manual and purchase original and exact replacement parts.
Always consult a professional when you are unsure about fixing any part of your turntable.
Sources
1. “Phonograph Arm Systems” Wikipedia, Accessed November 17, 2021,
2. Heitaro Nakajima, Yoshimoto Omura, and Isao Kawashima, “Tonearm assembly,” The Journal of the Acoustical Society of America 66, 941-941 (1979)
3. “Audio Solutions Question of the Week: How Do I Balance the Tone Arm and Set the Tracking Force for Turntables?” Audio-Technica, Accessed November 17, 2021
4. “How to Change Turntable Cartridge” Wikihow, Accessed November 17, 2021,
5. “How to Change the Needle on a Record Player” Wikihow, Accesses November 17, 2021,