This post contains affiliate links.
Listening to your favorite record can be a magical experience. The experience loses its magic the moment your record starts repeating, though. Why do records do that, anyway? If you were just listening to the record and it never skipped or repeated before, it can seem all the more bizarre. Before you rush to smite anyone who may have touched the record, let’s first look at the reasons why a record may start repeating.
Record players skip or repeat for the following reasons:
- Dust
- Dirt
- Warped record
- Scratched record
- Unbalanced tonearm and counterweight
- Unsecure location
- Damaged vibration dampener
I’ll take you through my experience fixing each of these situations when you find your record repeating. I use a quick method to test and find out which one of these is the culprit, and I’ll share that as well. Let’s get things spinning and dive right in.
Table of Contents
Why A Record Repeats And How To Fix A Looping Record
You’ll find a handy guide here to quickly diagnose, fix and prevent from recurring each of the seven ailments I’ve mentioned to your record playing enjoyment. If you find your record is skipping, looping, repeating, or generally misbehaving, check out each of these items and hopefully get it fixed fast.
Dust
If you haven’t had a chance to dig into the delicate parts of a record cartridge, check out my article on why turntable cartridges are so expensive for an explanation of their parts. Needless to say, the stylus, cantilever, and rubber suspension components of the record player cartridge are all tiny and delicate.
It doesn’t take much dust to get caught on the record groove to form a tiny lump of dust within individual grooves. With a diamond or ruby stylus bearing down on the dust as the record turns, it can easily catch things up and cause your record to repeat, loop, or even skip.
How To Fix A Dusty Record
Maintaining a good quality carbon fiber brush with your record player is a wise concept to battling the dust bunnies. Before you drop the needle, turn on the table and let your record spin a few times. Gently lower the brush onto the record, holding the brush so it brushes the record without slowing it down (not being too abrasive here, or you might damage your record).
Holding the brush perpendicular to the motion of the record, gently slide the brush outwards from the center of the record to, and off, the outer edge. Ensure you make this motion slowly and without pressing too hard. Be gentle and make sure your motion takes several rotations of the record to complete. This way, you leave no dust behind.
Check your stylus to ensure no dust has caught on the tip. Sometimes you’ll clean a record, but the dust was stuck to the stylus all along, so ensure you check this.
If there is dust on the stylus, turn off the player before cleaning it. The ideal tool to clean your stylus is a stylus brush. You can cheat with some cleaning products. I used to use a very fine dish cloth moistened with warm water. Make sure it’s just on the edge of being moist, nothing wet.
Raise and lower the stylus gently and repeatedly onto the brush or cloth, which usually removes dust. Do not scrape the stylus, or you could deform the tip. Only gently ‘dab’ the stylus on soft material.
Dirt
Talking about dust and dirt, you might assume we’re talking about the same thing, but we aren’t. Let’s say a friend of yours came over and was eating some cheese-flavored potato chips. Do you know the kind that leaves the sticky orange flavoring all over your fingers?
Let’s say when you aren’t looking, your grubby friend picks up one of your favorite records and gets a sticky finger on it. They put it back in the sleeve, and no one is the wiser. Until you play it and it skips on the leftover chip flavoring your friend so kindly left behind unnoticed. This scenario is one that happened to me, by the way.
How To Fix A Dirty Record
Cleaning the dirt off the record can be tricky if it’s stuck on there good. The best solution is using warm water and a very soft cloth. Never use hot water as it will deform the record.
Moisten the cloth with warm water and gently rub the cloth in the direction of the grooves. NEVER rub the cloth against the direction of the grooves.
I like to do what I call the feather approach: touch it lightly, like a feather, to clean it. Repeat. Sometimes repeat a lot for double cheese flavored dirt. But gentle action with a moist, soft cloth will work most of the time without damaging the record.
Warped record
Warped records are painful to see and hear when they cause things like skips, repeats, looping, or other such audio destructions of enjoyment. If you have a record warp bad enough to cause the record to skip, then you’ll want to check the record to ensure it isn’t scratched.
How To Fix A Warped Record
I wrote another article talking about playing warped records, and it’s got some great ideas to fix them, in case you’re in need. The process might take some time, but it’s worth it if the record is salvageable. You can read more about it here: Is It Okay To Play A Warped Record?
Scratched record
If you’ve got a record with a scratch that’s bad enough to cause a loop or skip, then there’s only one thing left to do: Check your record’s pockets for loose change. Seriously though, there’s not much you can do to fix a scratch on a record. Vinyl is pretty soft, but turning it back in time after the damage is next to impossible with records. (source)
How To Fix A Scratched Record
Unfortunately, in my experience, there is no fix for a badly scratched record. I had one that was minor but would repeat at this one spot. I used a high-power magnifying glass and a chemically sharpened knife from a specialty set for model making. I was able to cut the groove, so the scratch causes a blip instead of a loop or repeat. But The scratch damaged, either way, that part of the track, and I bought a replacement record.
Unbalanced tonearm and counterweight
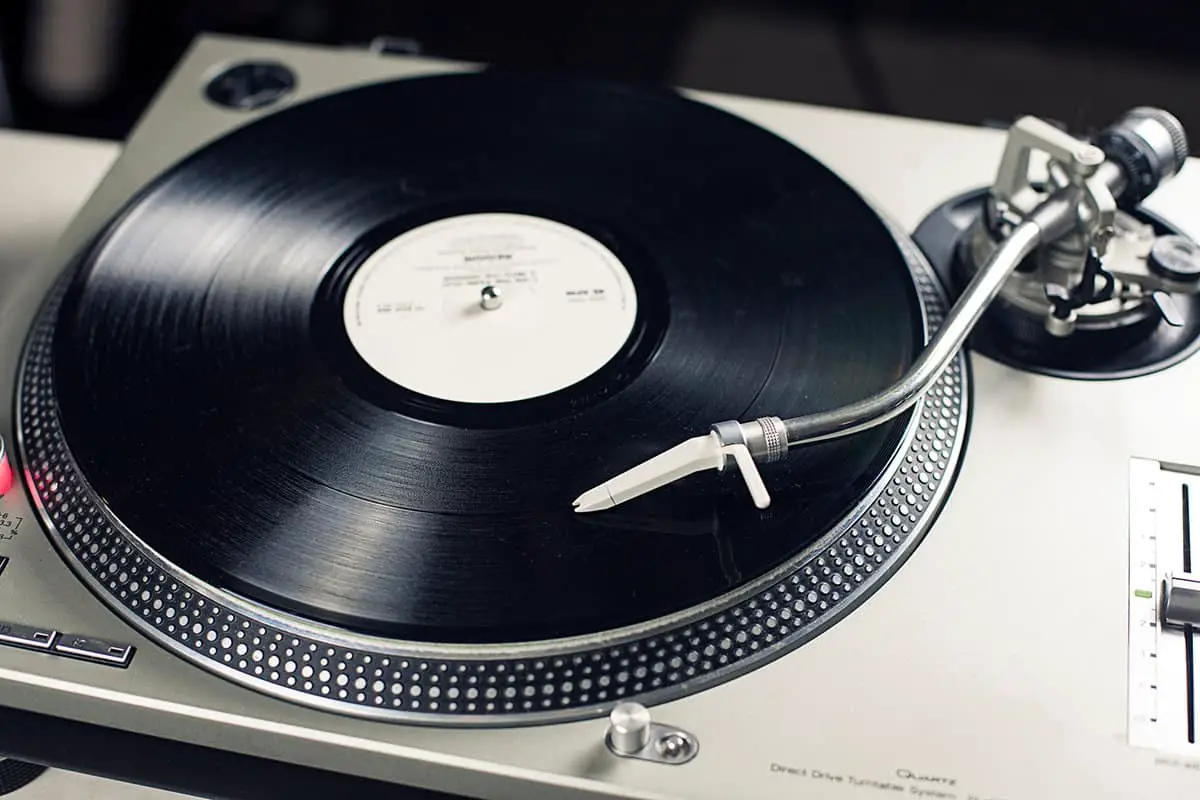
Every decent record player worth its salt has a finely adjustable tonearm and a counterweight. Typical adjustment is via a dial at the rear of the tonearm assembly, on the opposite side of where the tonearm pivoting attachment to the record player resides.
If a tonearm is out of balance, the arm and stylus can bounce quickly off the groove that’s being played. When a heavy bass part of the song comes, it may be enough vibration to cause the arm to bounce up and out of its current groove.
How To Fix An Unbalanced Tonearm And Counterweight
Balancing your tonearm isn’t tricky, but it can be frustrating if you don’t have patience.
First, test how you need to adjust the counterweight by zeroing things out. Zero out both the anti-skate and the counterweight tracking adjustment. Set the counterweight, so the arm floats horizontally without you touching it. The counterweight adjustment is usually at the back of the weighted end of the tonearm assembly.
You need to set the tracking adjustment after you have zeroed your counterweight, so the tonearm floats horizontally. I like to set this around 3.5, but you can set it as low as two if the record player is on a very secure surface. The dial adjustment is usually labeled and closer to the tonearm’s pivot by the rear counterweight. (source)
Next, set your anti-skate adjustment to match your tracking adjustment number. Remember to consult your stylus manufacturer’s guide to optimal stylus tracking settings.
Unsecure location
If you’ve ever acted as DJ at an event, you know this is a huge concern – unsecure record player location. I once played a party that the guy throwing the shin-dig decided to set some wood on top of the bass bins and put the turntables and mixer on top. It worked great until we turned the volume up past small room volume (outside in a field).
An unsecure location can cause your record to skip from something as simple as a person walking past.
How To Fix An Unsecure Location
A solid base is the only fix for this issue. Using a heavy and firm piece of furniture is excellent; the heavier, the better. Counters work great, but no one plays records in the kitchen, so use a desk, a solid record stand, or other firm and secure furniture pieces.
The other way to ‘fix’ a location that tends to vibrate your record player is through the addition of turntable vibration isolators. Adding something like a zaZen isolation platform or other available specialty record player mounts is a great, albeit expensive, way to solve a location that vibrates or requires isolation. (source)
Damaged vibration dampener
WIth older record players or record players that have been through a move without a good travel case, sometimes the built-in table dampeners can become damaged.
How To Fix A Damaged Vibration Dampener
If an internal component such as a vibration dampening spring has broken, your best bet is to find the OEM replacement. Unfortunately, I can’t tell you how to fix this, as every record player model is different. Still, I can tell you that a spring-loaded screw threaded through a compression spring usually attaches to the turntable’s feet.
There is usually a rubber boot on better models, and this boot can become rigid over time. Turn over your player, carefully holding it up, so you don’t damage or rest it on the tonearm or other components and check the player’s feet. They should move and compress against the player with equal force. If one feels more rigid than the others, it may have a rubber boot gone brittle with time. If one feels too sloppy, it may have a broken compression spring.
As long as you can find the original parts, both of these components are usually easy to replace on most models.
VacationVinyl.com is a participant in the Amazon Services LLC Associates Program, an affiliate advertising program designed to provide a means for sites to earn advertising fees by advertising and linking to Amazon.com. We also participate in other affiliate programs which compensate us for referring traffic.


