Skipping songs on a vinyl record can be considered a skill set. It requires precision, confidence, and semi-accuracy that not many people have. Nevertheless, this article will help you master the trick behind skipping songs on a vinyl record.
In my experience, here’s how you can get to your favorite tracks on an album:
1.Release the needle
2.Remove the protective casing over the needle
3.Push the needle toward the record
4.Lift the needle on top of the thick indentations on the vinyl record
5.Lower the needle and mission complete.
Not only will this article provide you with the trick behind skipping songs on a vinyl record, but it will also give you bonus information in caring for your vinyl records. If you’re interested in this and more information, be sure to keep reading.
Can You Skip Songs On A Vinyl Record?
Quite frankly, yes, you can skip songs on a vinyl record. It’s a process that requires a steady hand an even steadier disposition. Be patient. You may not ace it the first time.
A viny record manual does not exist, but a record player manual does. However, that doesn’t come with the knowledge required to skip songs. Nevertheless, this article will be the answer to your problem.
First things first are to look at the different types of vinyl records.
What are the different types of vinyl records, and how do you skip songs on them?
There are two types of vinyl records:
- 45 RPM records
- 33 RPM records
The 45 RPM records contain two songs, while the 33 RPM records contain an entire album. Be sure to check which type of RPM or revolutions per minute type of album you have at hand.
The RPM refers to the speed at which your vinyl record will play the songs. This fact matters a lot down the line, but let’s elaborate further on the main parts of this article.
How Do You Skip Songs On A Vinyl Record?
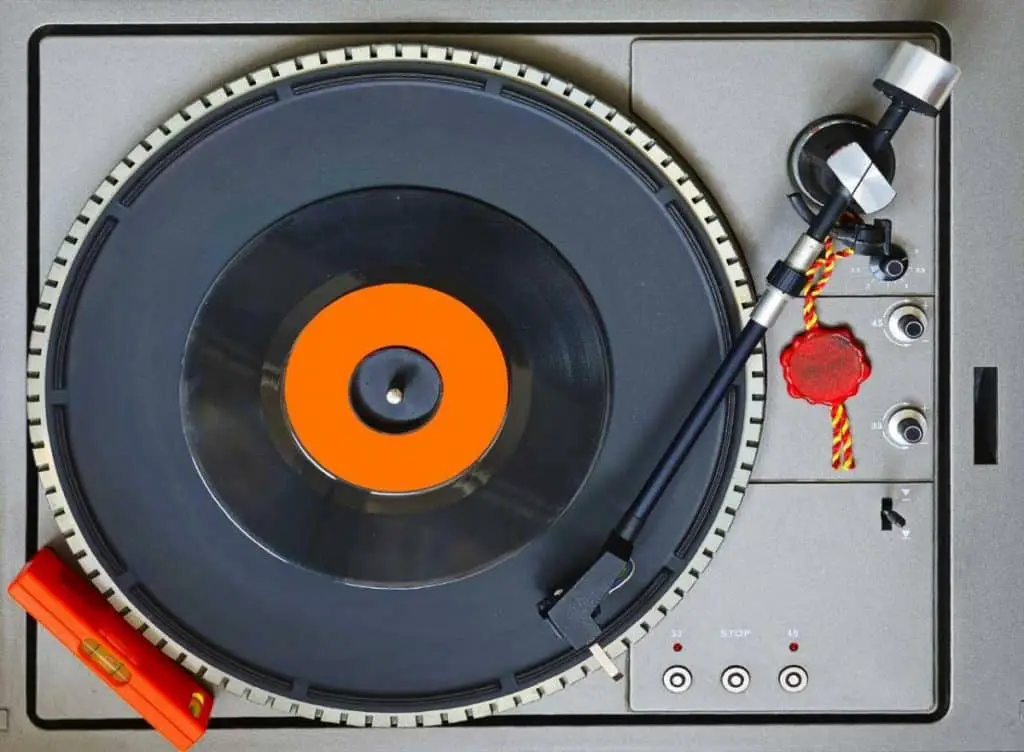
- Release the needle
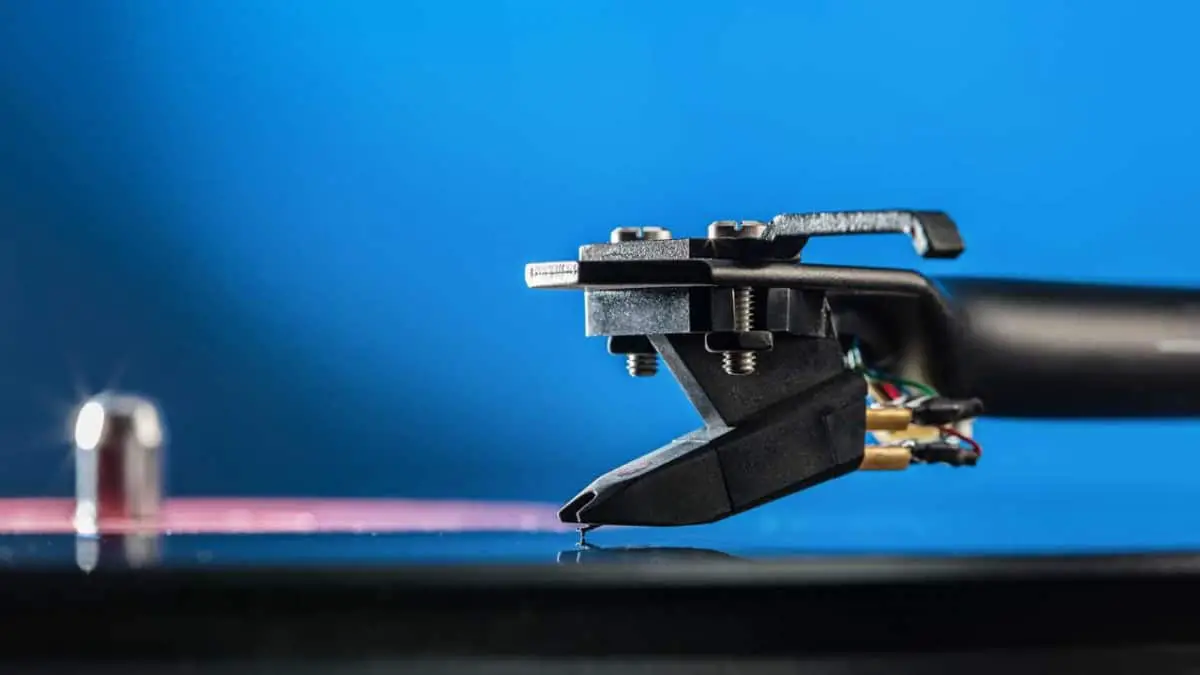
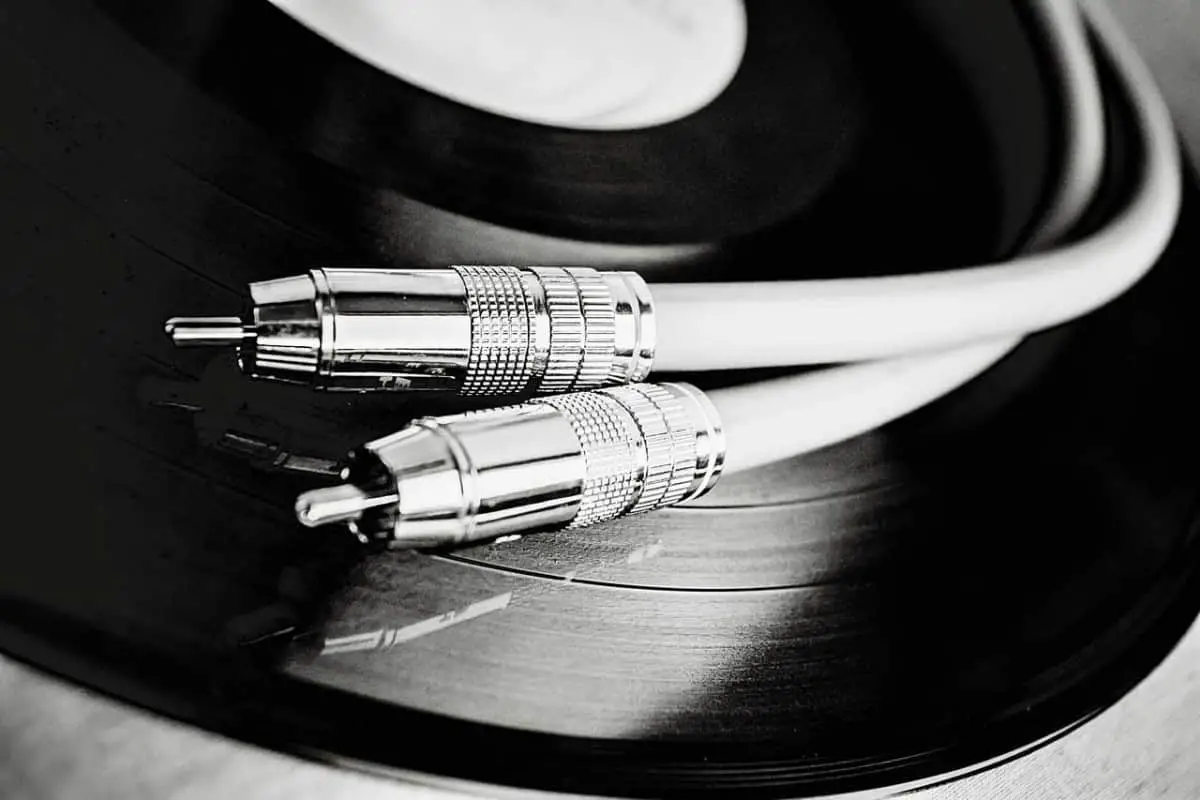
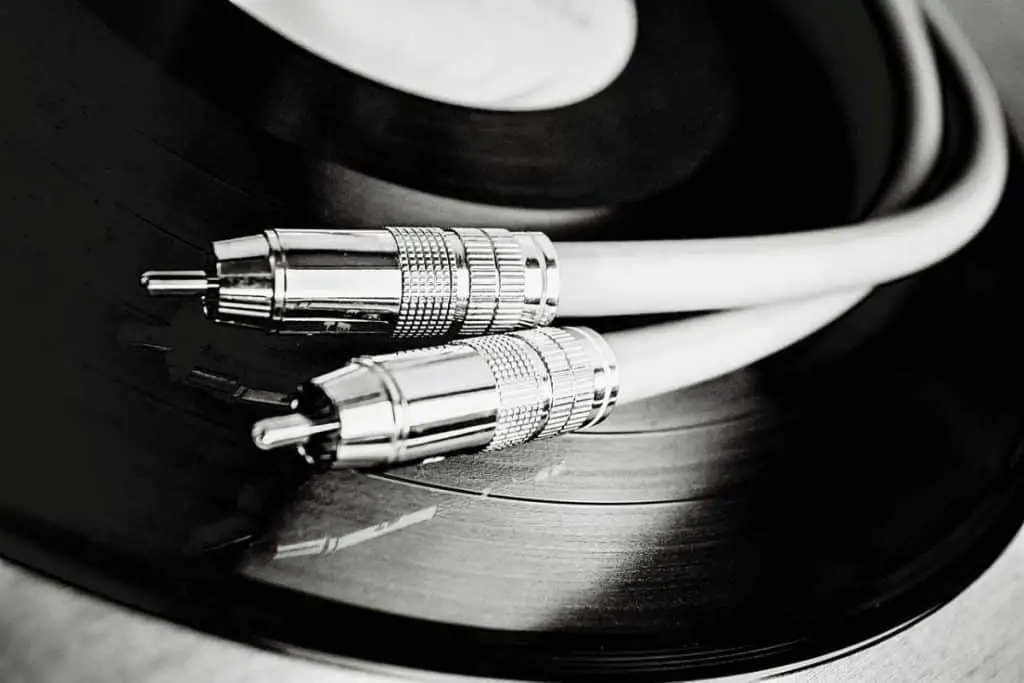
A needle is also known as a stylus. It is at the tip of the metallic arm on the record player. You gently place the needle on the vinyl record, and it’s one of the primary sources of sound.
It does the sound generating by touching the grooves while the vinyl record is in motion.
Depending on the type of record player you do have, it’s essential to release the needle. With this, you can move the needle on either side to choose your desired song.
- Remove the protective casing on the needle
Needles consist of two types of materials:
- Diamond
- Sapphire
The needles can also be either elliptical or spherical shaped. Because of this design, most needles will come with a protective casing, also known as a stylus guard.
If you don’t have one for your record player, it’s good practice to have one to help maintain your stylus or needle and protect it from unwanted external factors.
Make sure that you remove the stylus guard or protective casing. You will be using the record player shortly.
- Push the needle toward the record
It’s almost time to put theory into practice. Push the needle toward the record, and let’s move on to the next step. Be sure not to push the needle down.
Some record players will come with a safety lock. Make sure to release the safety lock before pushing the needle toward the record. You must conduct the process carefully and correctly.
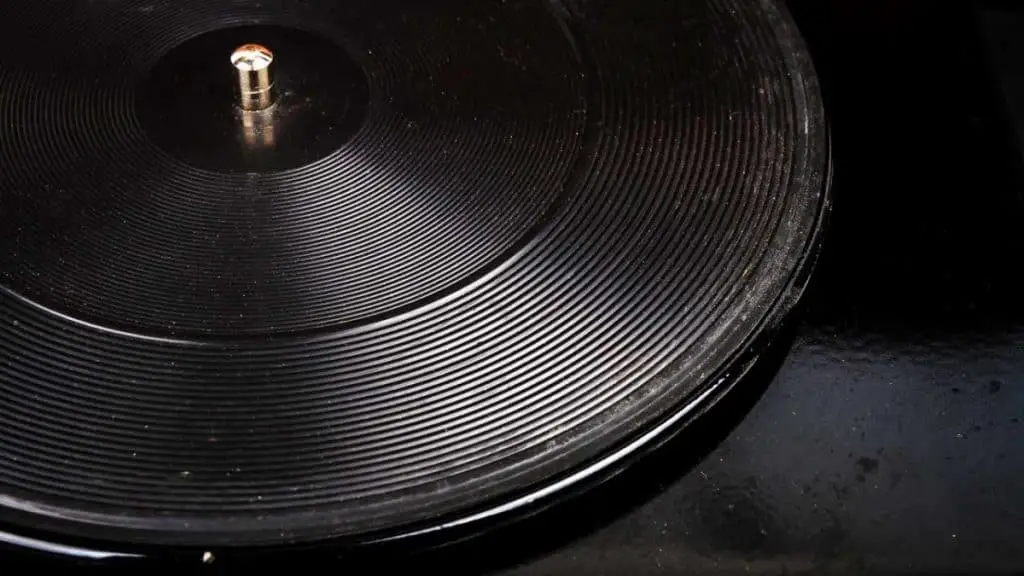
- Lift the needle on top of the thick indentations on the vinyl record
On the 33 RPM vinyl records, these indentations are much more prominent. The indentations represent the songs in the album. Remember that there are songs at the front of the vinyl record and the back of the vinyl record.
Slowly but surely, move the needle on top of one of these indentations.
Lower the needle and let it play your song. Voila! Mission accomplished. You have successfully skipped a song on a vinyl record.
If you want to skip the song on the 45 RPM vinyl record, both songs are on different sides of the vinyl record. It means that you have to flip the record over, and you have achieved what you once sought out.
- Lower the needle and mission complete
After completing all these steps carefully and hopefully with a steady hand, you can listen to the song of your choice. The record player will continue to play the rest of the songs as usual.
The disclaimer behind skipping songs on vinyl records
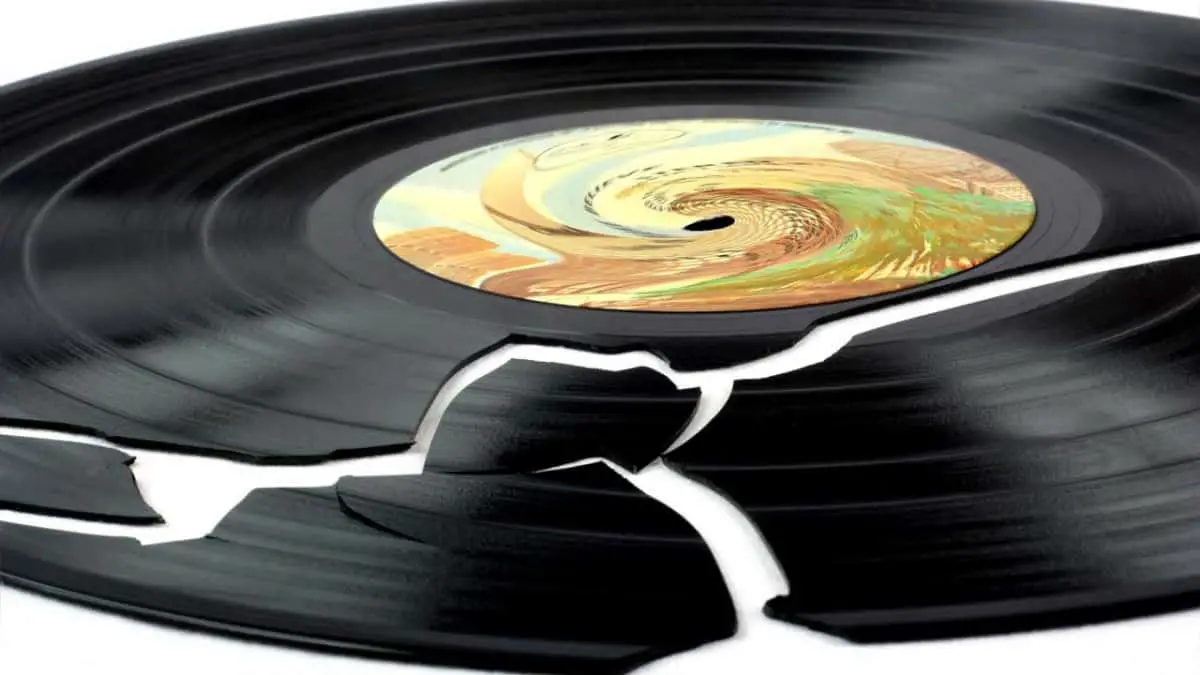
Skipping songs on vinyl records may come across as easy without the exception of having a steady hand while doing it. However, there is a risk involved in this process.
Skipping a song on a vinyl record increases the likelihood of damaging the vinyl record or the record player. You may accidentally press on the needle or stylus or probably even drop the stylus.
The risks are unknown and are in your hands. Experts recommend forgoing the skipping process to eliminate the risk. Vinyl records and vinyl record players are pretty fragile.
Therefore, if you have no choice but to skip a song, do it slowly and carefully. Take your time and exert patience while doing it. You want to make sure that you do not damage the stylus or the vinyl record itself.
May the odds be in your favor.
Are You A Vinyl Record Owner Interested In What Other People Are Asking? Here Are Some Helpful Faqs To Get You Started.
Can You Fast-forward A Vinyl Record?
Unfortunately no. You cannot fast forward a vinyl record. Vinyl records exist in two types of speeds:
- 33 RPM typically (12-inch records)
- 45 RPM typically (7-inch records)
These speeds mean that you should play these two types of vinyl records at their specified speeds. Any faster or slower would not play the songs on the vinyl record as intended.
Not only that, but as a vinyl record owner, you need to take better care of your equipment.
With great power comes great responsibility and even more fragile needles. Thus, play your vinyl records at their specified speeds. It won’t hurt to stick to the design rules of vinyl recordsHokk.
Can You Play Specific Songs On Vinyl Records?
Yes, you can play specific songs on vinyl by carefully positioning the needle on one of the thick indentations on the vinyl record and lowering the needle.
You can easily switch between songs on the vinyl record. The only downside to this process is that you may not get it right if you don’t have a steady hand.
Positioning the stylus or the needle is the hard part of this process. The trick is to get it as accurate as possible. Be sure not to push the needle down or try any risky maneuvers to get it right.
You can consider using hand-eye coordination without applying any unnecessary forces to the parts in question.
Not only that, but you can also consider not skipping songs at all. Experts recommend not skipping songs on vinyl records because skipping songs increases the risk of damaging either the stylus (aka the needle) or the vinyl record.
Remember to take care of your equipment.
How Do You Figure Out Where A Song Starts On A Vinyl Record?
Honestly, it takes a lot of practice to know where a song starts. On a 33 RPM vinyl record, the thick indentations on the vinyl record represent the different songs on the vinyl record.
For you to skip songs on a vinyl record, the indentations are the key to your lock. However, it requires practice and patience to get it right.
Sources
1.Jenna Miles, The Beginner’s Guide to Vinyl Records: How to Build, Maintain and Experience a Music Collection in Analogue (Massachusetts: Adams Media,2017) 256.
2.Victrola, Getting Started: How to Use a Record Player, Victrola https://victrola.com/blogs/articles/getting-started-how-to-work-a-record-player Accessed 17th July 2021.
3.Record Player Expert, Skipping tracks on Vinyl, Record Player Expert https://recordplayerexpert.com/ready-why-its-not-a-good-idea-to-skip-tracks-on-vinyl/ Accessed 17th July 2021.
4.Victrola, Understanding the Difference: Turntable vs. Record Player, Victrola https://victrola.com/blogs/articles/understanding-the-difference-turn-table-vs-record-player Accessed 17th July 2021.


")